> For the complete documentation index, see [llms.txt](https://docs.lan.kokomocloud.com/llms.txt). Markdown versions of documentation pages are available by appending `.md` to page URLs; this page is available as [Markdown](https://docs.lan.kokomocloud.com/configuring-networks/configuring-access-points/configuring-ssids/configuring-splash-page.md).
# スプラッシュページ
このセクションは、スプラッシュページのセットアップ方法を説明するものです。スプラッシュページを使用すれば、ネットワーク利用者がインターネットに接続する前にカスタムページを見せることができます。
スプラッシュページを設定する前に、「**キャプティブポータル**」が有効になっていることを確認してください。
* **外部スプラッシュページURL**:\
外部スプラッシュページでは、管理者は独自のWebサーバーでスプラッシュページをホストでき、KOKOMO Cloud側でホストする必要がありません。
* **ローカルスプラッシュページ**:\
ローカルスプラッシュページでは、アクセスポイント内部でホストされるスプラッシュページ用HTMLを提供します。例えば、独自のスプラッシュページをカスタマイズ可能です。
{% hint style="info" %}
ローカルスプラッシュページは、特定の固定URLに直接アクセスする形式ではありません。認証前のクライアントがインターネットへのアクセスを行った際に、アクセスポイントが HTTP 302 リダイレクトを行い、パラメータ付きのURLへ遷移させます。
{% endhint %}
スプラッシュページの設定後は、「**適用する**」をクリックしてください。
{% hint style="info" %}
ローミング時にスプラッシュページの再表示を避けるには、以下の条件をすべて満たす必要があります。ローミング後もキャプティブポータル認証状態が維持されるため、再認証が不要になります。
* アクセスポイントが同一のクラウドネットワークに属している
* クライアントが同一のSSID内でローミングしている
* クライアントが同一のIPサブネット内でローミングをしている
{% endhint %}
### WYSIWYGエディタの利用
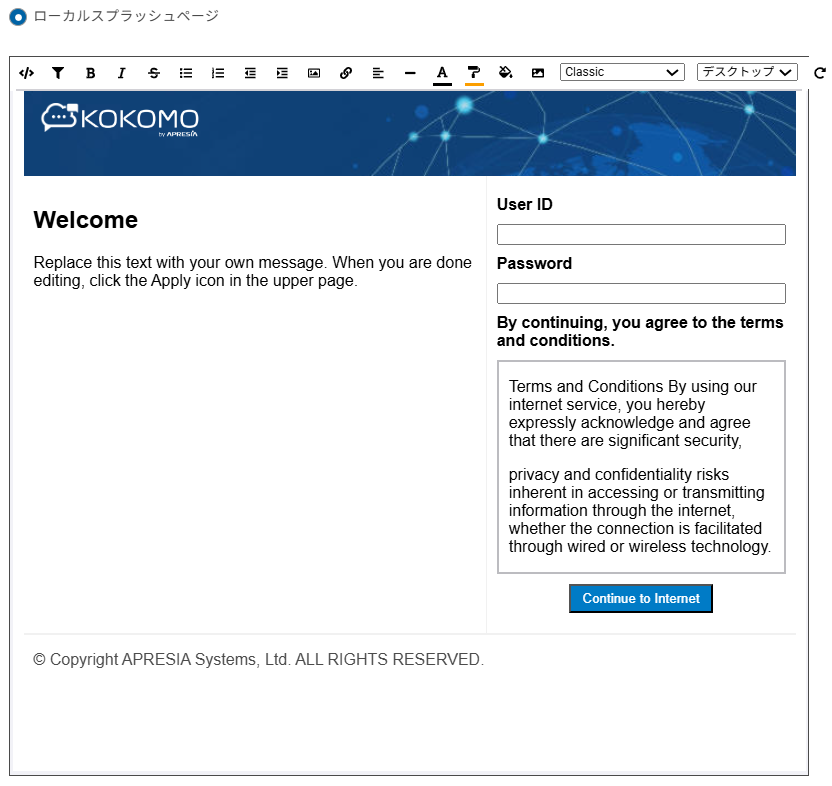
エディタ上部のドロップダウンメニューから各種テンプレートを選択できます。
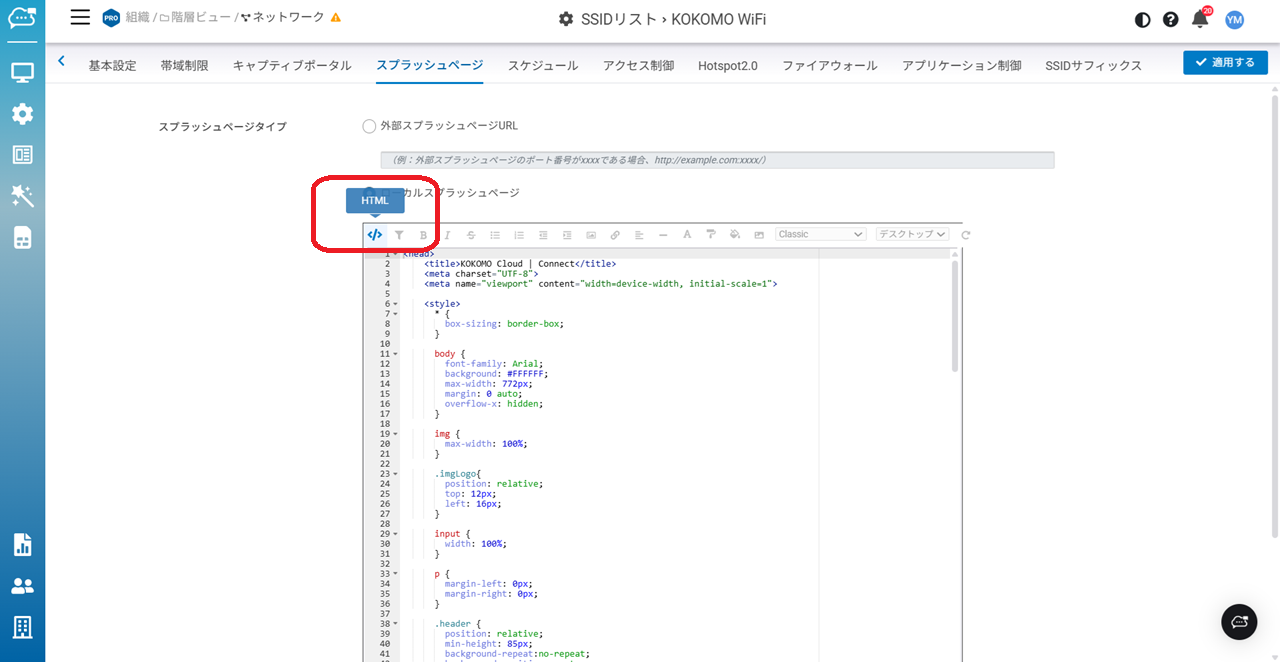
テンプレートを選択すると、メッセージ、色、フォント、画像などをカスタマイズできます。KOKOMOではWYSIWYG(what-you-see-is-what-you-get:見たまま)エディタを採用し、HTML編集にも対応しています。
上部ツールバーの標準編集ツールの他、HTMLアイコンをクリックして編集を開始できます。
#### テンプレートの選択
エディタ上部のドロップダウンからテンプレートを選んでください。ご要望に応じてテンプレートの内容やデザインをカスタマイズできます。編集内容はテンプレートのコピーに反映されるため、いつでもデフォルトに戻すことが可能です。
#### 画像の追加・編集
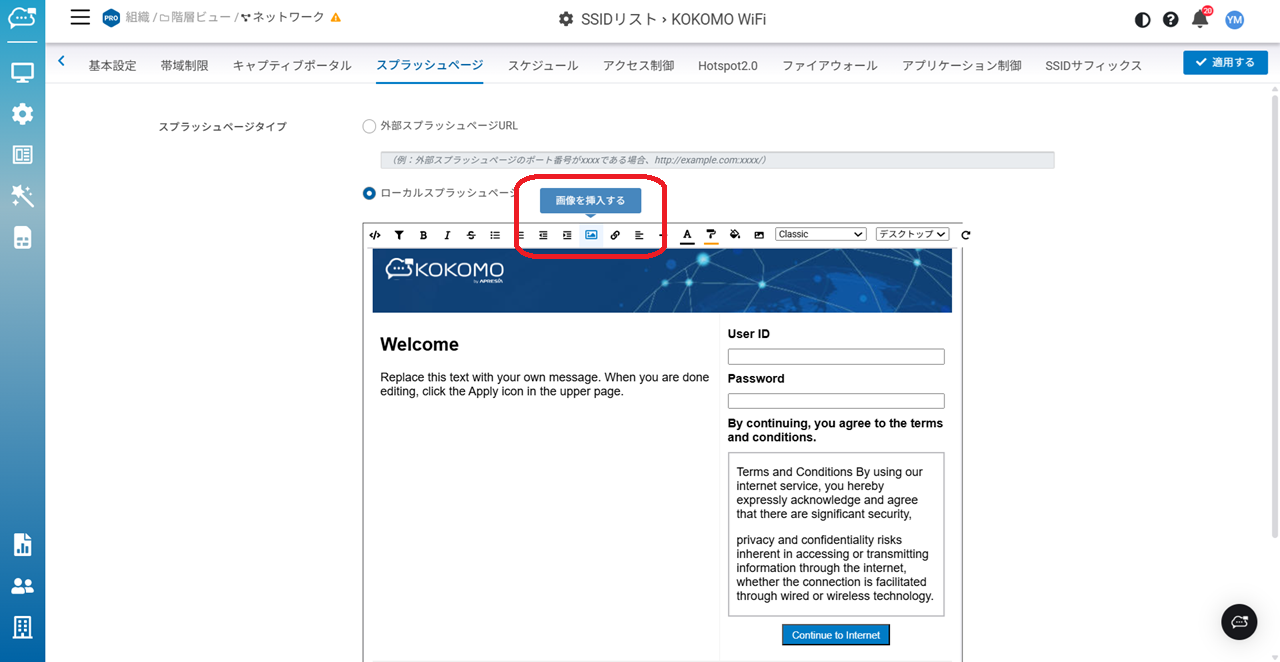
各スプラッシュページテンプレートにはストック画像が付属しています。また、「**画像を挿入する**」ツールを使って画像やロゴの追加もできます。
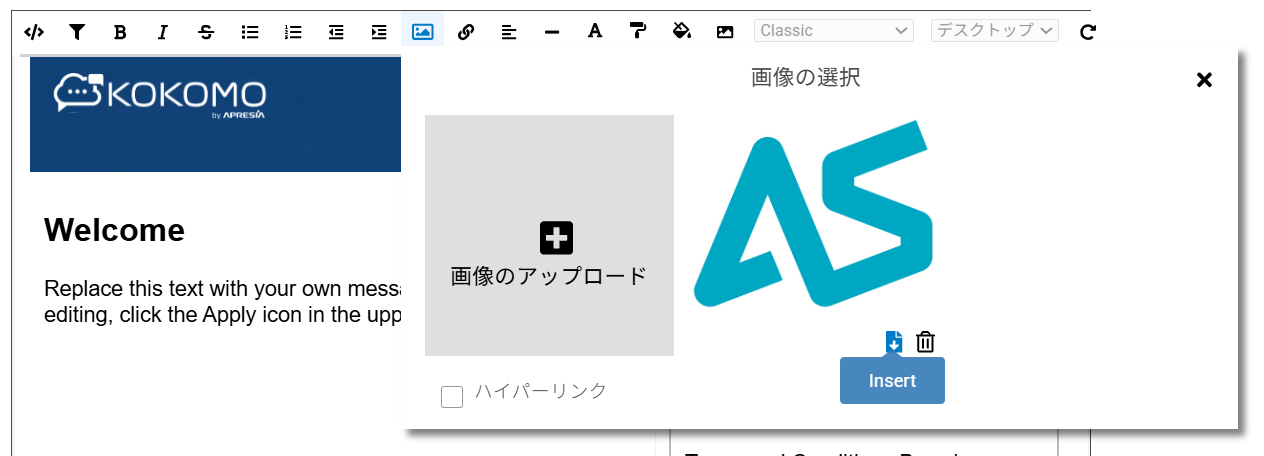
1. 「**画像を挿入する**」ボタンをクリックし、ファイルを選択またはドラッグ&ドロップして「画像をアップロード」します。
2. 画像をダブルクリックするか、「Insert」アイコンをクリックすると画像が追加されます。
---
# Agent Instructions
This documentation is published with GitBook. GitBook is the documentation platform designed so that both humans and AI agents can read, navigate, and reason over technical content effectively. Learn more at gitbook.com.
## Querying This Documentation
If you need additional information that is not directly available in this page, you can query the documentation dynamically by asking a question.
Perform an HTTP GET request on the current page URL with the `ask` query parameter, and the optional `goal` query parameter:
```
GET https://docs.lan.kokomocloud.com/configuring-networks/configuring-access-points/configuring-ssids/configuring-splash-page.md?ask=&goal=
```
`ask` is the immediate question: it should be specific, self-contained, and written in natural language.
`goal` is optional and describes the broader end goal you are ultimately trying to accomplish on behalf of the user. GitBook uses it to tailor the answer towards what is most useful for that goal.
The response will contain a direct answer to the question and relevant excerpts and sources from the documentation.
Use this mechanism when the answer is not explicitly present in the current page, you need clarification or additional context, or you want to retrieve related documentation sections.